
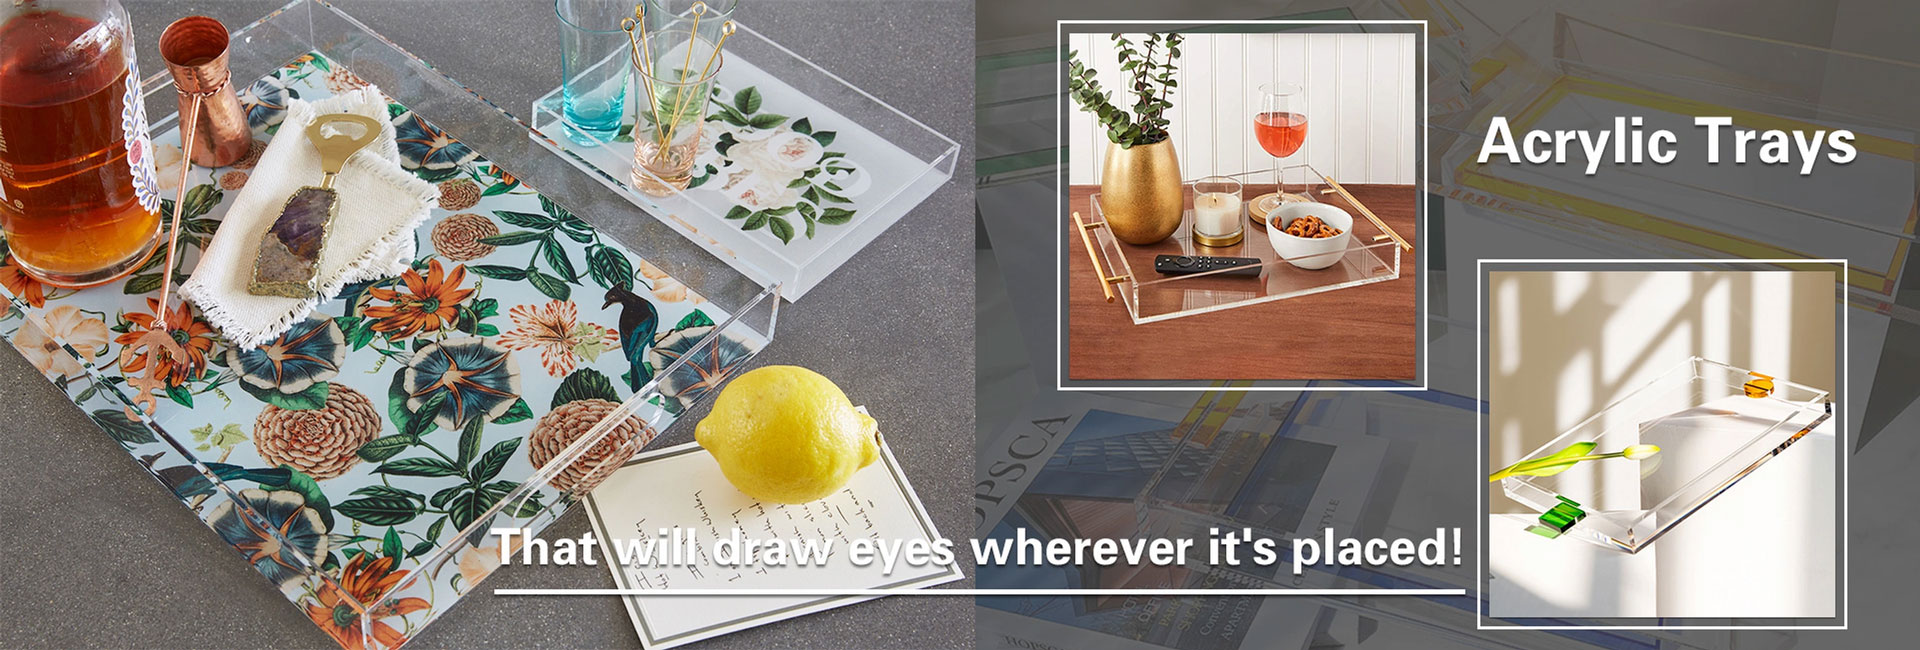
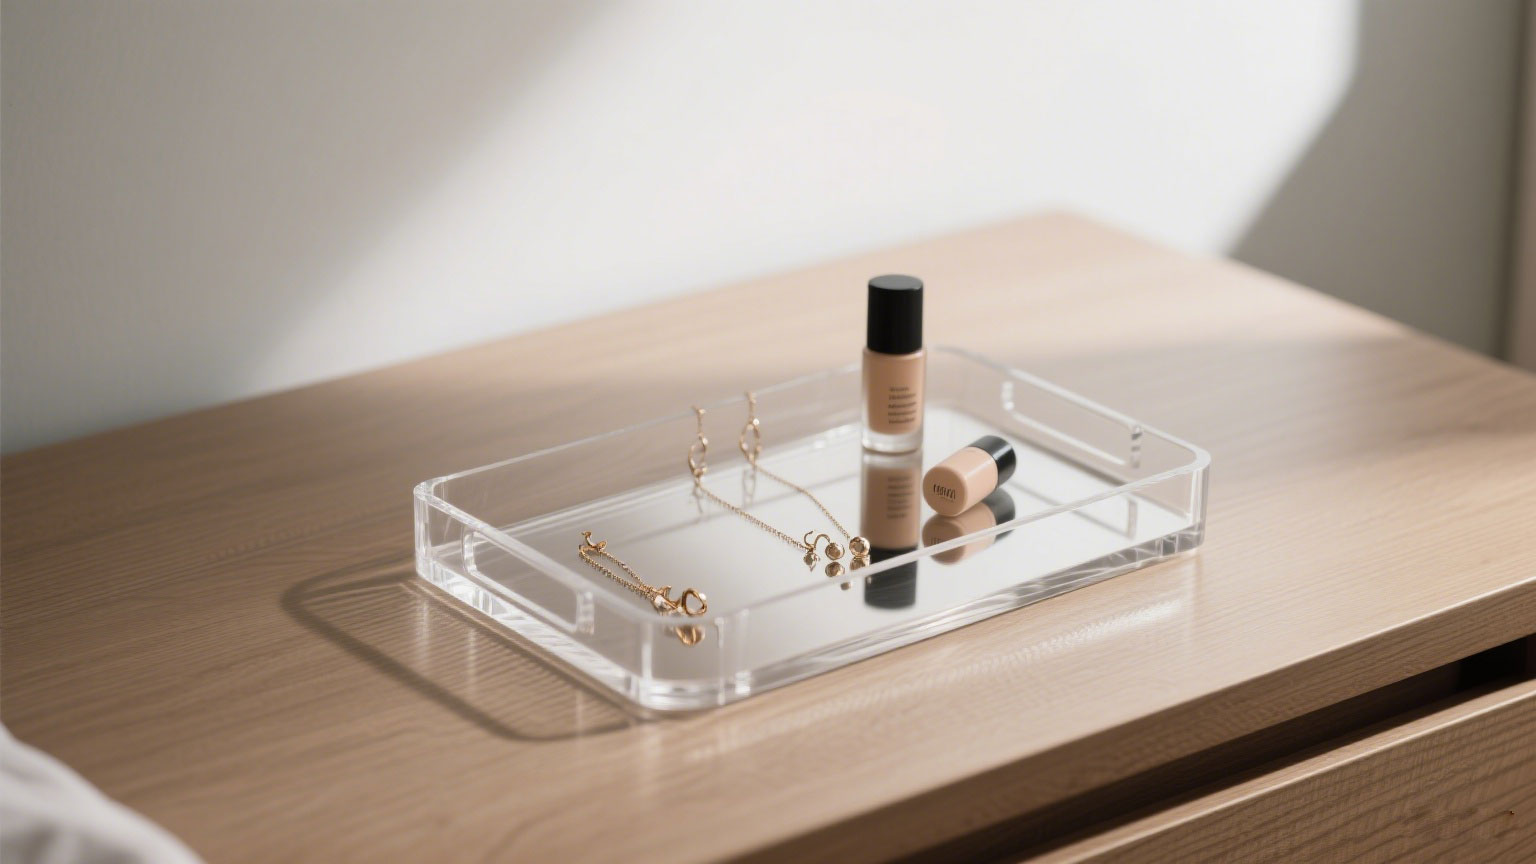
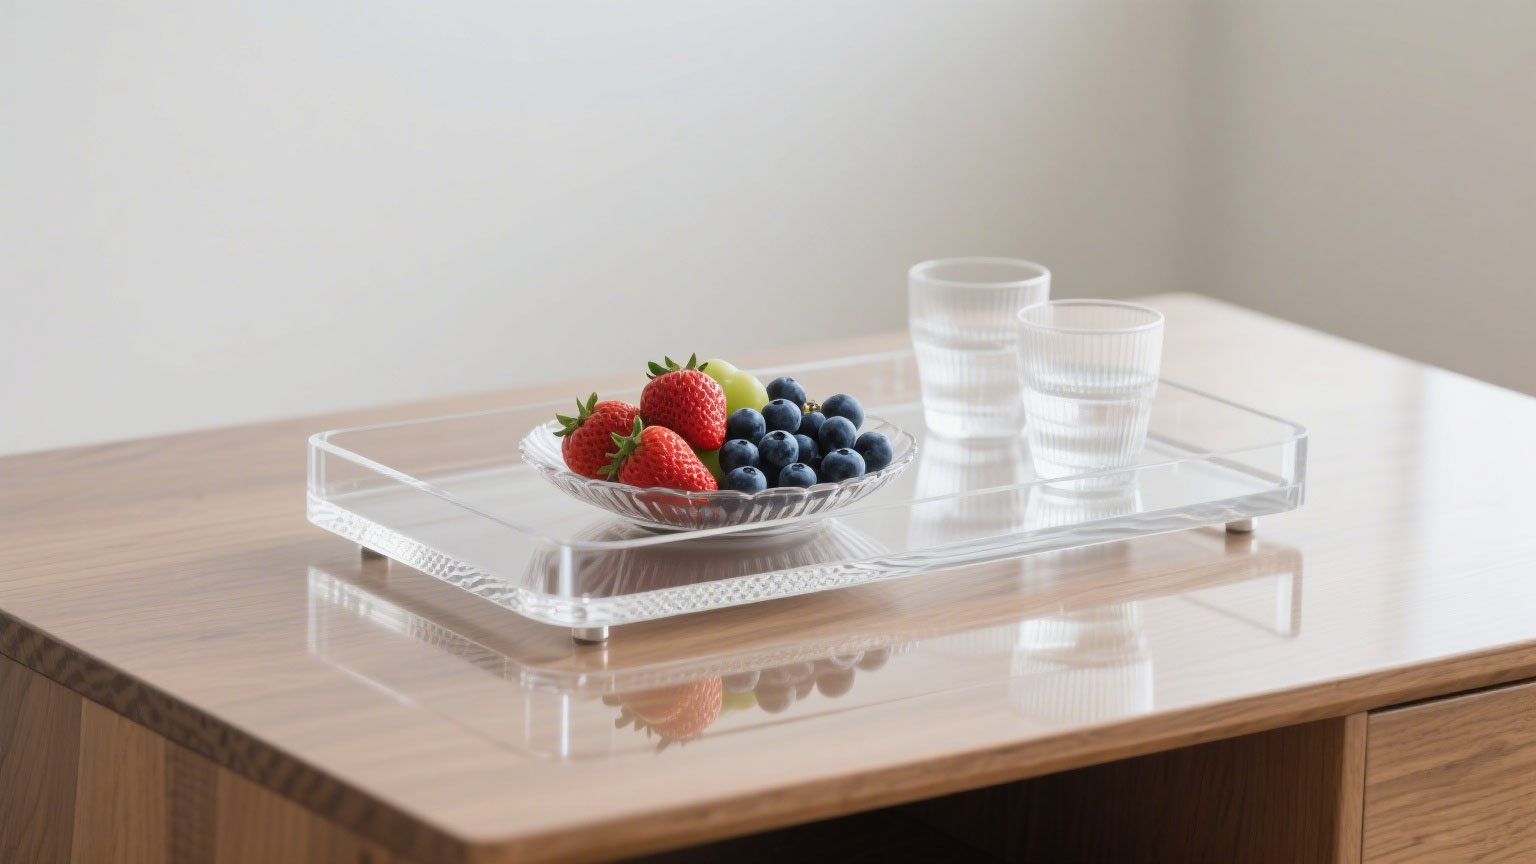
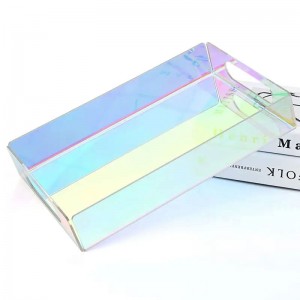
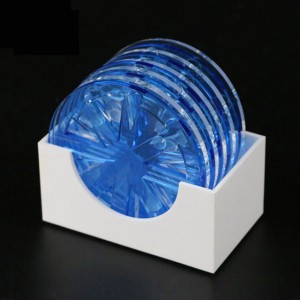
Acrylic trays have become increasingly popular in both residential and commercial settings due to their sleek appearance, durability, and versatility.
Whether used as serving trays in a high-end restaurant, organizing trays in a luxury boutique, or decorative trays in a modern home, custom acrylic trays offer a unique blend of functionality and aesthetic appeal.
But have you ever wondered what goes into creating these custom pieces? In this comprehensive guide, we’ll walk you through the entire custom acrylic tray production process, from the initial design concept to the final delivery at your doorstep.
1. Design Consultation and Conceptualization
The journey of a custom acrylic tray begins with a conversation. Design consultation is a crucial first step where the client’s vision meets the manufacturer’s expertise.
During this phase, clients can share their ideas, including dimensions, shape, color, and any specific features they want, such as compartments, handles, or engraved logos.
Manufacturers often provide design templates or work with clients to create a custom blueprint using computer-aided design (CAD) software.
This software allows for precise measurements and 3D visualizations, helping clients visualize the final product before production begins.
It’s also the stage where material thickness is determined—thicker acrylic (3mm to 10mm) is ideal for heavy-duty use, while thinner sheets (1mm to 2mm) work well for lightweight decorative trays.
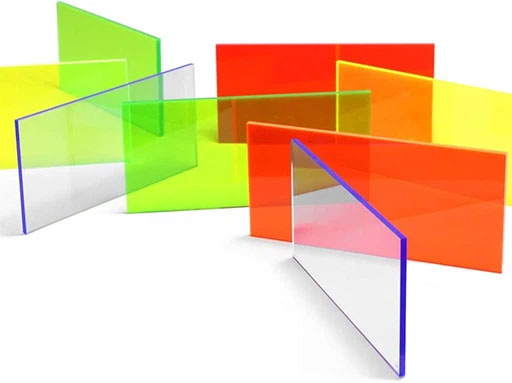
2. Material Selection: Choosing the Right Acrylic
Acrylic, also known as PMMA (polymethyl methacrylate), comes in various forms, and selecting the right type is key to the tray’s performance and appearance.
Clear acrylic is the most popular choice for its glass-like transparency, but colored acrylic, frosted acrylic, and even mirrored acrylic are available for unique designs.
Manufacturers source high-quality acrylic sheets from reputable suppliers to ensure durability and consistency.
The material’s UV resistance is another important factor, especially for trays used outdoors, as it prevents yellowing over time.
Additionally, some clients opt for recycled acrylic to align with eco-friendly practices, a growing trend in the custom manufacturing industry.
3. Prototyping: Testing the Design
Before moving to mass production, creating a prototype is crucial for refining the design and addressing any potential issues.
Prototyping allows clients to physically inspect the acrylic tray’s size, shape, and finish, making adjustments if necessary.
Using the CAD design, manufacturers can 3D-print a prototype or cut a small batch of acrylic using a laser cutter for a more accurate representation.
This step is crucial for ensuring that the final product meets the client’s expectations, whether it’s a perfectly fitted compartment or a smoothly polished edge.
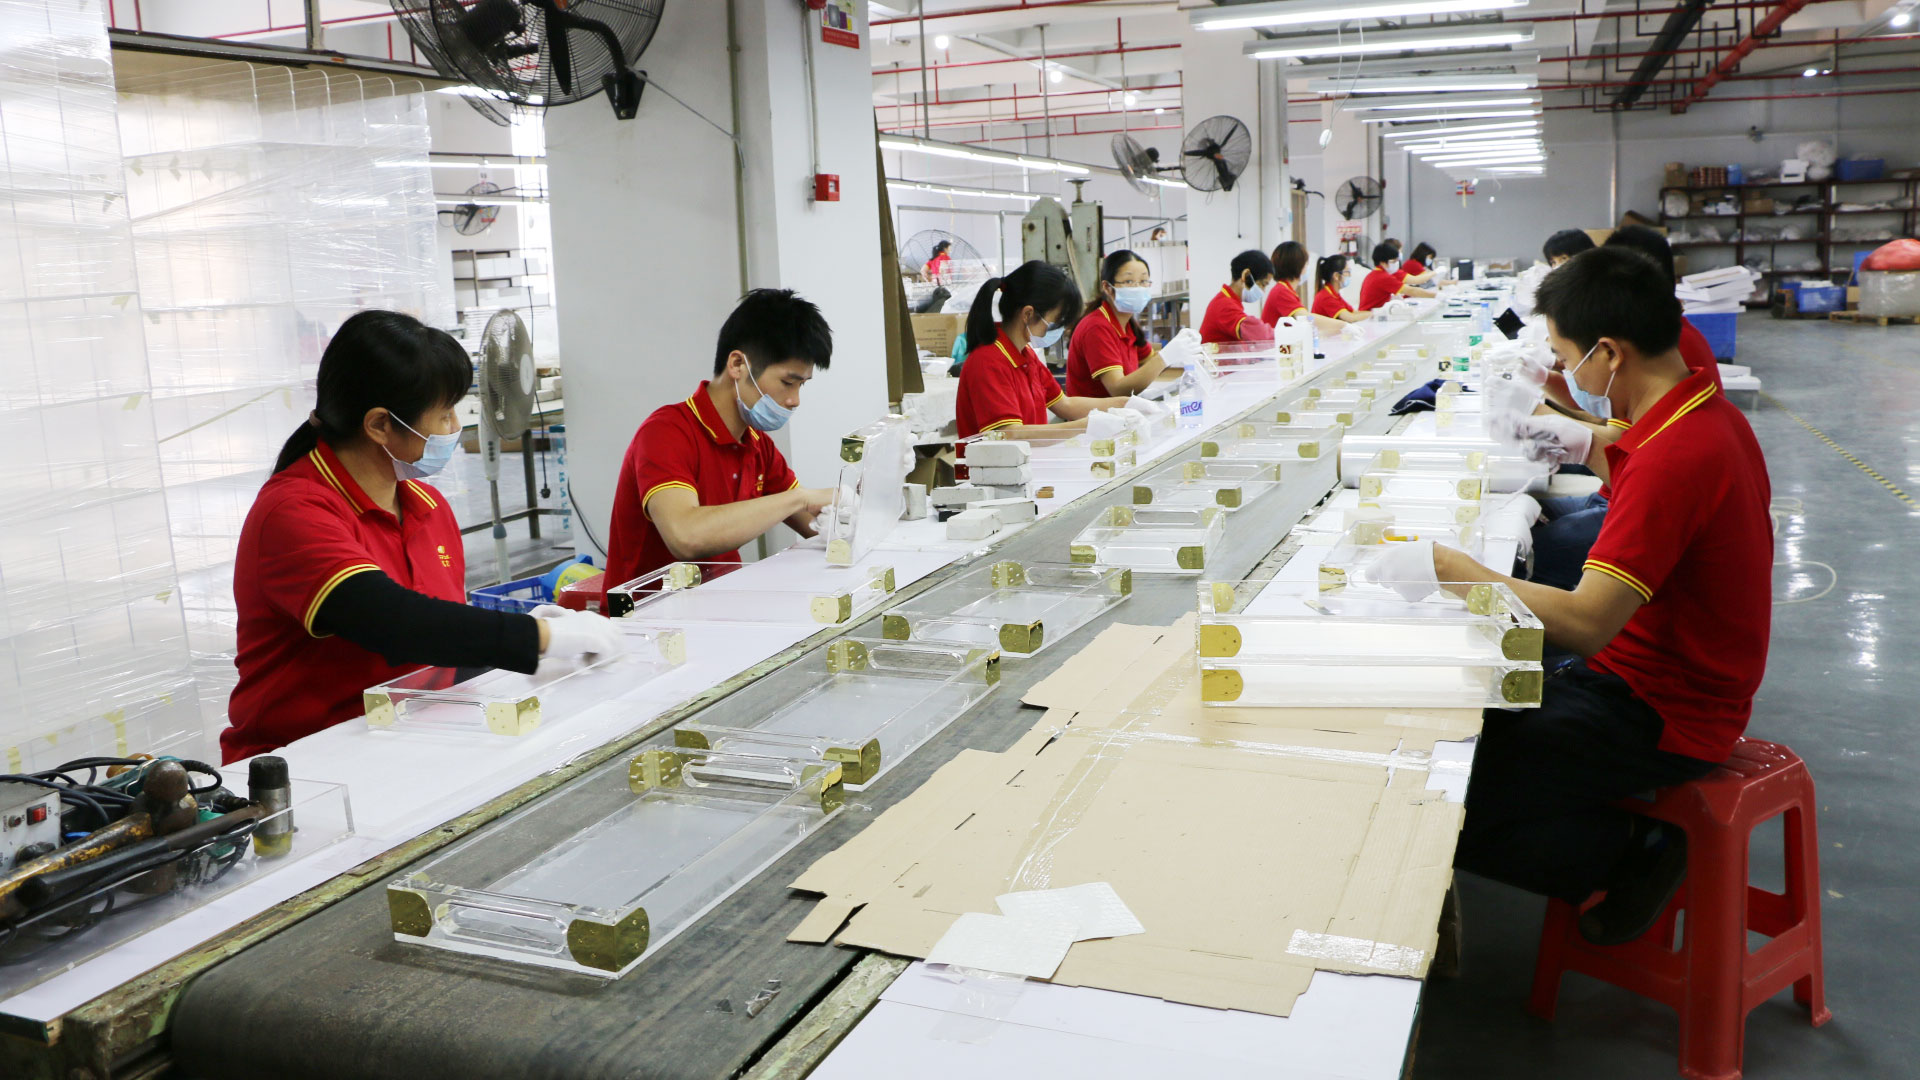
4. Cutting and Shaping the Acrylic
Once the design is finalized, the production process moves to cutting and shaping the acrylic sheets.
Laser cutting is the preferred method for custom acrylic trays due to its precision and ability to create intricate shapes.
The laser cutter follows the CAD design, cutting the acrylic with minimal waste and smooth edges.
For more complex shapes or curved edges, manufacturers may use CNC (Computer Numerical Control) routers, which can shape the acrylic with high accuracy.
This step is critical for ensuring that all components of the tray—such as the base and sides—fit together perfectly during assembly.
5. Edge Polishing: Achieving a Smooth Finish
Raw acrylic tray edges can be rough and opaque, so polishing is necessary to achieve a glossy, transparent finish. There are several methods for polishing acrylic edges:
Flame polishing: A quick and efficient method where a controlled flame melts the edge slightly, creating a smooth, clear surface.
Buffing: Using a rotating wheel with polishing compounds to smooth the edge, ideal for thicker acrylic sheets.
Vibratory polishing: Suitable for bulk production, this method uses a machine with abrasive media to polish multiple pieces at once.
A well-polished edge not only enhances the tray’s appearance but also removes any sharpness, making it safe to handle.
6. Assembly: Putting It All Together
For acrylic trays with sides, compartments, or handles, assembly is the next step. Manufacturers use acrylic cement (a solvent-based adhesive) to bond the pieces together.
The cement works by melting the surface of the acrylic, creating a strong, seamless bond once it dries.
Careful alignment is crucial during assembly to ensure the tray is level and structurally sound. Clamps may be used to hold the pieces in place while the cement sets, which typically takes a few hours.
For acrylic trays with handles, holes are drilled (if not already cut during the shaping phase), and the handles are attached using screws or adhesive, depending on the design.
7. Customization: Adding Logos, Colors, and Finishes
Customization is what makes each acrylic tray unique. There are several ways to personalize the tray:
Engraving: Laser engraving can add logos, text, or patterns to the surface, creating a permanent, high-quality design.
Printing: UV printing allows for full-color designs on the acrylic, ideal for vibrant graphics or brand logos.
Painting: For colored trays, acrylic paint or spray paint can be applied to the surface, with a clear coat added for protection.
Frosting: A sandblasting technique creates a matte, opaque finish on part or all of the tray, adding a touch of elegance.
These customization options help clients create trays that align with their brand identity or personal style.
8. Quality Control: Ensuring Excellence
Before packaging, each custom acrylic tray undergoes rigorous quality control checks. Inspectors check for:
• Proper dimensions and shape
• Smooth, polished edges
• Strong, seamless bonds in assembled trays
• Clear, accurate engravings or prints
• No scratches, bubbles, or defects in the acrylic
Any acrylic trays that don’t meet the quality standards are either reworked or discarded, ensuring that only the best products reach the client.
9. Packaging and Shipping: Delivering with Care
Acrylic is durable but can scratch easily, so proper packaging is essential.
Acrylic trays are wrapped in protective film or tissue paper to prevent scratches and then placed in sturdy boxes with padding to avoid damage during transit.
Manufacturers work with reliable shipping partners to ensure timely delivery, whether it’s a local delivery or an international shipment.
Tracking information is provided to clients, allowing them to monitor the progress of their order until it arrives.
10. Post-Delivery Support: Ensuring Satisfaction
The production process doesn’t end with delivery.
Reputable manufacturers offer post-delivery support, addressing any issues that may arise and providing care instructions to help clients maintain their acrylic trays.
Proper care—such as cleaning with a soft cloth and mild soap—can extend the life of the tray, keeping it looking new for years to come.
Conclusion
Creating a custom acrylic tray is a detailed process that combines design expertise, advanced manufacturing techniques, and a focus on quality.
From the initial consultation to the final delivery, each step is carefully executed to ensure the end product meets the client’s vision and exceeds their expectations.
Whether you’re in need of a custom tray for your business or a unique gift, understanding this process can help you make informed decisions and appreciate the craftsmanship behind each piece.
Frequently Asked Questions (FAQ) About Custom Acrylic Trays

What Is the Difference Between Acrylic and Glass Trays?
Acrylic trays are lighter, shatter-resistant, and more durable than glass, making them ideal for daily use.
They offer similar transparency to glass but are easier to customize with colors, engravings, or shapes.
Acrylic also resists UV yellowing better than glass, though it can scratch more easily if not cared for properly.
How Long Does It Take to Produce a Custom Acrylic Tray?
The timeline varies by design complexity.
Simple designs with standard sizes take 5–7 business days, including design approval and production.
Complex designs with intricate cuts, multiple compartments, or custom engravings may take 10–14 days, accounting for prototyping and adjustments.
Shipping adds 2–5 days, depending on location.
Can Acrylic Trays Be Used Outdoors?
Yes, but choose UV-resistant acrylic to prevent yellowing from sun exposure.
Avoid extreme temperatures, as acrylic can warp above 160°F (70°C).
Outdoor trays are ideal for patios or poolside use—they’re shatterproof, lightweight, and easy to clean with mild soap and water.
What Customization Options Are Available for Acrylic Trays?
Options include laser engraving (logos, text), UV printing (full-color designs), frosting (matte finishes), and custom shapes/sizes.
You can add compartments, handles, or colored acrylic sheets.
Manufacturers often provide CAD previews to ensure the design matches your vision before production.
How Do I Maintain an Acrylic Tray to Keep It Looking New?
Clean with a soft cloth and mild soap—avoid abrasive cleaners or scrubbers that cause scratches.
For stubborn stains, use a plastic polish.
Store away from sharp objects, and avoid stacking heavy items on top to prevent warping.
With proper care, acrylic trays can last for years without losing their shine.
Jayiacrylic: Your Leading China Custom Acrylic Tray Manufacturer
Jayi acrylic is a professional acrylic tray manufacturer in China. Jayi’s acrylic tray solutions are crafted to enthrall customers and present items in the most alluring way. Our factory holds ISO9001 and SEDEX certifications, guaranteeing top-notch quality and ethical manufacturing practices. With more than 20 years of experience partnering with leading brands, we fully grasp the significance of designing acrylic trays that amplify item visibility and stimulate usage satisfaction.
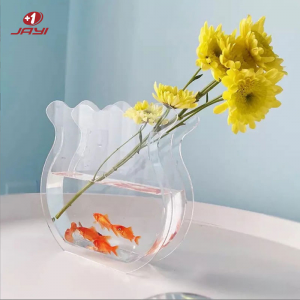
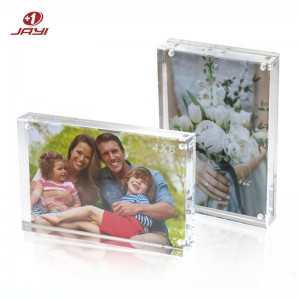
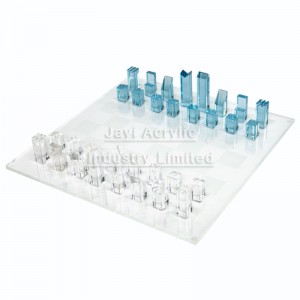
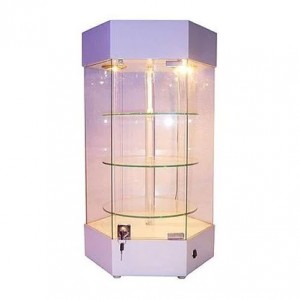
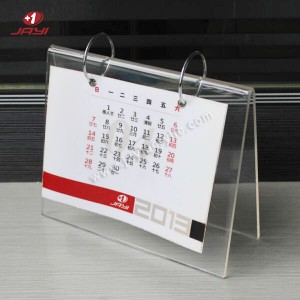
You Might Also Like Other Custom Acrylic Products


Post time: Aug-13-2025