
Plexiglass has become a go-to choice for modern homes, and it’s easy to see why. This versatile material packs a punch with its impressive strength, long-lasting durability, and reliable performance—all while being surprisingly easy to cut and install to fit any space. What’s more, it offers unbeatable value: costing less than traditional glass, plexiglass windows boast 10 times the impact resistance, making them safer for homes with kids or pets, and they excel at retaining heat, helping boost energy efficiency.
But to keep your plexiglass looking crystal clear and performing at its best, proper cleaning is key. Unlike glass, it’s prone to scratches if handled incorrectly, so ditching abrasive tools and harsh chemicals is a must. Below, we’ll break down the foolproof steps to clean plexiglass safely—removing dust, smudges, and stains without damaging the surface, so your investment stays shiny and intact for years to come.
5 Detailed Steps to Clean Plexiglass Perfectly
1. Gather Your Supplies
The foundation of scratch-free, sparkling plexiglass lies in choosing the right cleaning supplies—cutting corners here can lead to permanent damage.
A high-quality microfiber cloth is non-negotiable: its ultra-fine fibers trap dust and grime without abrading the plexiglass’s delicate surface, unlike paper towels or rough rags that leave micro-scratches.
For the cleaning agent, simplicity works best: mild soapy water (avoiding harsh detergents) is affordable and effective for everyday messes. If you prefer a specialized product, opt for formulas labeled “plexiglass-safe” like Plexi-Clean or PlexiSafe, which are pH-balanced to protect the material.
Crucially, steer clear of ammonia-based cleaners, all-purpose sprays, abrasives, aromatic cleaners, and Windex. These contain chemicals that break down plexiglass’s protective coating, leaving a cloudy, sticky residue that’s nearly impossible to remove—and can even cause long-term discoloration.
2. Remove Surface Dust and Debris
Before introducing any liquid, eliminating surface dust and debris is a critical pre-cleaning step that prevents scratching during the wet cleaning process.
Dry particles like dust, sand, or pet hair act like tiny abrasives; rubbing them into the plexiglass with a cloth or cleaning solution will create visible scratches. The safest method is to use a clean, dry microfiber cloth—gently wipe in a circular motion to lift debris without pressing too hard.
For hard-to-reach areas or delicate pieces (like plexiglass art frames or small displays), a blow dryer on the cool setting is a game-changer. The cool air blows away loose particles without generating heat that could warp the plexiglass.
Avoid using feather dusters, as they often spread dust rather than remove it, and never tap or scrape debris off with sharp objects (like a fingernail or spatula), which can leave deep gouges.
3. Prepare a Cleaning Solution
Creating your own plexiglass cleaning solution is not only cost-effective but also ensures you control the ingredients to avoid damaging the material—no need for expensive store-bought products for routine cleaning. Start with a clean spray bottle (rinsed thoroughly to remove any leftover cleaning agents) to ensure no contaminants mix with your solution.
Combine 1 cup of lukewarm distilled water (tap water can contain minerals that leave spots) with 1/2 teaspoon of mild dish detergent—look for formulas labeled “gentle” or “non-abrasive,” free of moisturizers, fragrances, or bleach.
Avoid using concentrated detergent, as it can leave a soapy residue that dulls the plexiglass. Secure the spray bottle lid and shake gently to mix—don’t agitate vigorously, as this creates excessive suds that are hard to wipe away.
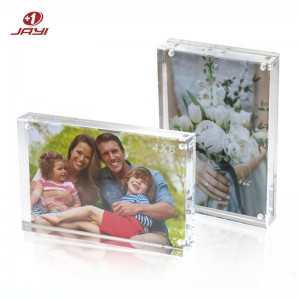
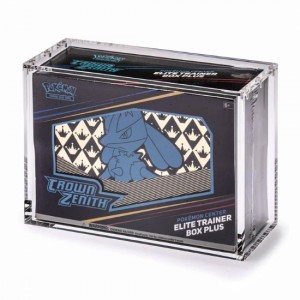
This solution is safe for all plexiglass surfaces, from windows and shower doors to acrylic display cases and acrylic furniture, and effectively cuts through fingerprints, smudges, and light grease.

4. Apply Cleaning Solution
Applying the cleaning solution strategically is key to achieving a streak-free finish and preventing water spots. Never spray the entire plexiglass sheet at once—this leads to uneven drying, especially in warm or dry environments, and increases the risk of streaks.
Instead, work in small, manageable sections (about 12x12 inches) to keep the solution wet while you wipe. Hold the spray bottle 6-8 inches from the surface and mist lightly—you only need enough solution to dampen the area, not soak it.
Immediately wipe the section with a clean, dry microfiber cloth, using gentle, circular motions to lift grime. After each section, inspect the cloth and shake off any trapped dust or debris; if it’s dirty, switch to a fresh part of the cloth or a new one entirely.
This prevents transferring debris back onto the plexiglass and ensures each section is thoroughly cleaned before moving on to the next.
5. Give a Final Rinse
The final rinse is the secret to unlocking that “like-new” shine and eliminating any leftover soap residue that could dull the plexiglass over time. Even mild dish detergent can leave a faint film if not properly rinsed, so don’t skip this step.
Grab a second clean microfiber cloth (reserve one exclusively for rinsing to avoid cross-contamination) and dampen it with lukewarm distilled water—distilled water lacks mineral deposits that cause spots, unlike tap water. Wipe the entire plexiglass surface in the same gentle, circular motion used during cleaning, ensuring you cover every section where you applied the cleaning solution.
For larger surfaces like windows, you can also use a spray bottle filled with distilled water to mist the area before wiping. After rinsing, use a dry part of the same cloth to buff the surface lightly—this removes excess moisture and enhances the plexiglass’s transparency.
For best results, complete the rinse immediately after cleaning to prevent the cleaning solution from drying on the surface.
Advanced Plexiglass Maintenance Methods
1. Get Rid of Scratches with Toothpaste
When dealing with minor scratches on plexiglass, toothpaste serves as a readily available and effective solution—note that gel-based toothpastes should be avoided as they lack the mild abrasive properties needed for scratch removal.
Start by ensuring the scratched area is free of dust and debris to prevent further damage during the process. Squeeze a pea-sized amount of non-gel toothpaste onto a clean fingertip or a soft microfiber cloth.
Gently rub the toothpaste onto the scratch using small, consistent circular motions for 1 to 2 minutes; apply only light pressure to avoid creating new marks. After buffing, wipe away the residual toothpaste with a microfiber cloth dampened with a mild plexiglass cleaning solution (such as a mix of water and a drop of dish soap).
This method works best for shallow scratches, leaving the surface smooth and transparent again.
2. Sanding with Care
Plexiglass boasts sufficient durability to withstand sanding, making it a viable option for addressing deeper scratches that toothpaste can’t fix.
You can choose manual sanding with sandpaper or a mechanical sander, but the key lies in gentle operation to avoid warping or clouding the material. Begin with a fine-grit sandpaper (400-grit or higher) to minimize initial damage; coarser grits may leave more prominent marks.
For manual sanding, hold the sandpaper flat against the surface and move it in uniform, circular, or back-and-forth motions with light, even pressure. If using a mechanical sander, set it to a low speed and keep it moving constantly to prevent over-sanding one spot.
After sanding, gradually switch to finer grits (800-grit, then 1200-grit) to smooth the surface. Always clean the area with a microfiber cloth between grits to remove sanding residue.
3. Buffing Made Easy
Buffing with a specialized plexiglass polish is a reliable method for removing both minor scratches and the cloudiness left by sanding. Unlike toothpaste, these polishes are formulated specifically for acrylic materials, ensuring optimal results without damaging the surface.
First, clean the plexiglass thoroughly with a mild cleaning solution and dry it with a lint-free microfiber cloth to remove any dirt, dust, or oil. Apply a small amount of the polish onto a clean section of the microfiber cloth—avoid using too much, as excess polish can leave streaks.
Gently rub the polish onto the scratched area using circular motions, focusing on one small section at a time. Continue buffing until the scratch fades and the surface regains its clarity; this typically takes 1 to 3 minutes per section.
Once done, use a clean part of the cloth to wipe away any remaining polish. For best results, choose a polish labeled for plexiglass or acrylics to ensure compatibility and long-lasting shine.
Conclusion
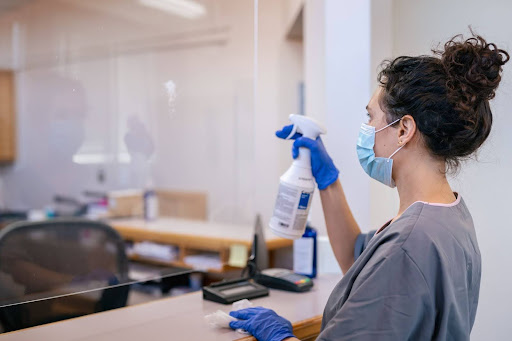
Plexiglass stands out as an incredibly versatile and practical material, with widespread applications across homes, businesses, and public spaces. It’s the go-to choice for sneezeguards in restaurants and retail stores, protective shields in offices and healthcare facilities, and eye-catching retail banners that blend durability with clarity. Beyond these common uses, its strength, light weight, and easy customization make it ideal for countless projects—from home decor accents to display cases and beyond.
Keeping your plexiglass clean and well-maintained not only preserves its sleek, transparent appearance but also extends its lifespan, ensuring it continues to serve its purpose effectively. If you’re brainstorming ideas for your next project and want to leverage the benefits of plexiglass, we’re here to help. Our team can assist with customization, installation guidance, and tailored solutions to bring your vision to life. Reach out today to explore how plexiglass can elevate your next endeavor!
About Jayi Acrylic Industry Limited

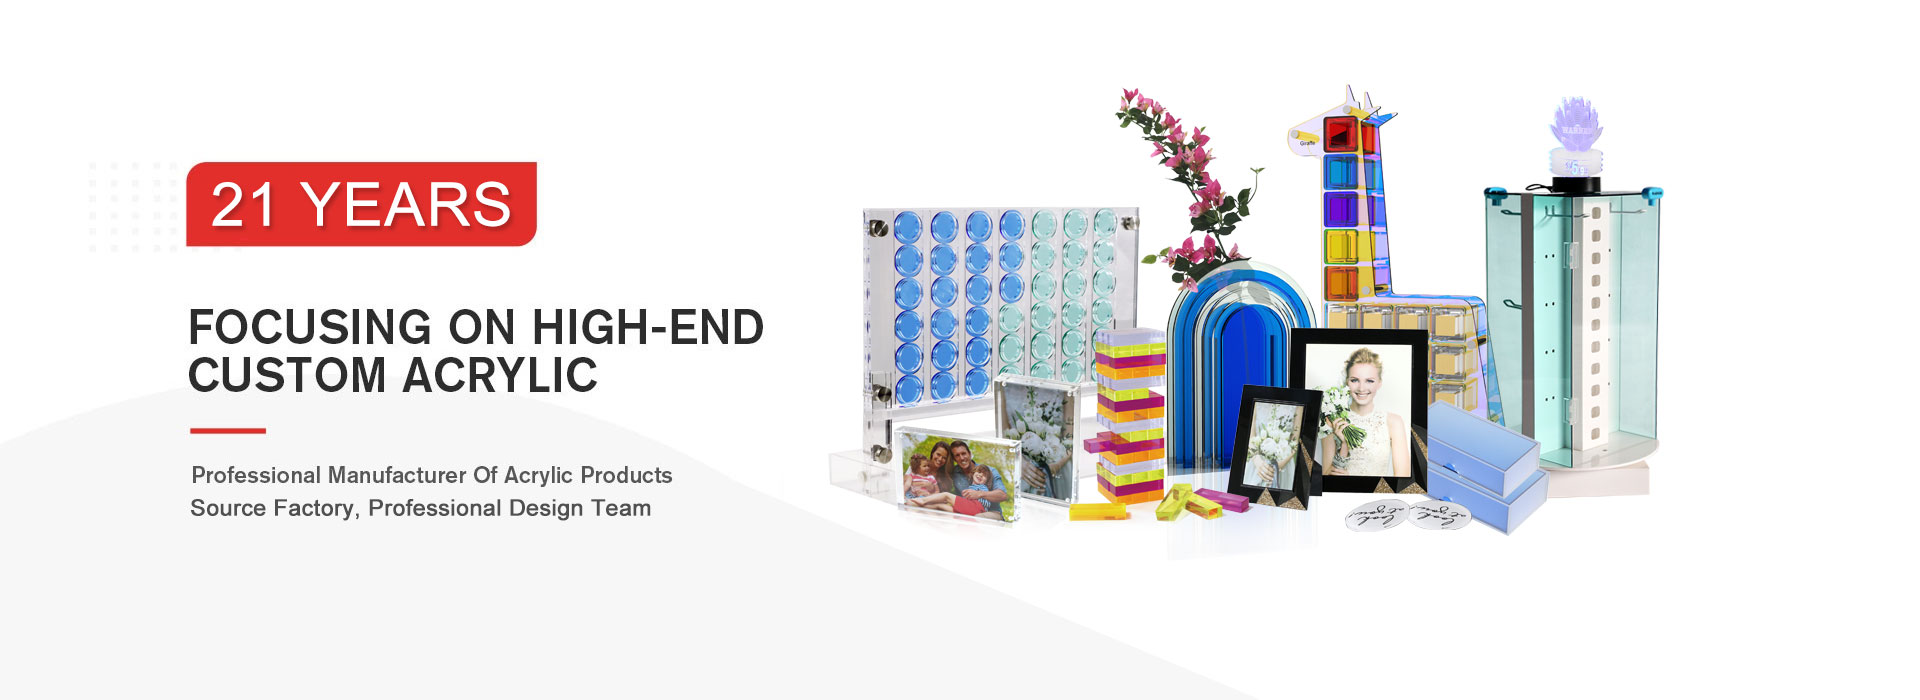
Headquartered in China, JAYI Acrylic is a seasoned professional in custom acrylic products manufacturing, boasting over 20 years of deep industry expertise. We are dedicated to crafting tailored acrylic solutions that not only captivate customers but also showcase products in the most alluring, eye-catching manner—blending functionality with aesthetic appeal.
Our focus on customization allows us to meet diverse needs, from acrylic displays and acrylic boxes to retail displays, decorative accents, and beyond. Over the decades, we’ve honed our craftsmanship, adhering to strict quality standards and leveraging advanced production techniques to deliver durable, high-clarity acrylic products. This commitment has earned us trusted partnerships with leading brands worldwide, spanning retail, hospitality, healthcare, and home decor sectors.
Whether you need bespoke acrylic displays or custom protective solutions, JAYI Acrylic combines experience, innovation, and reliability to bring your vision to life. Let our expertise elevate your next project—we’re ready to turn your ideas into premium acrylic realities.
Have Questions? Get A Quote
Want to Know More About Acrylic Products?
Click the Button Now.
You Might Also Like Other Custom Acrylic Products


Post time: Nov-20-2025